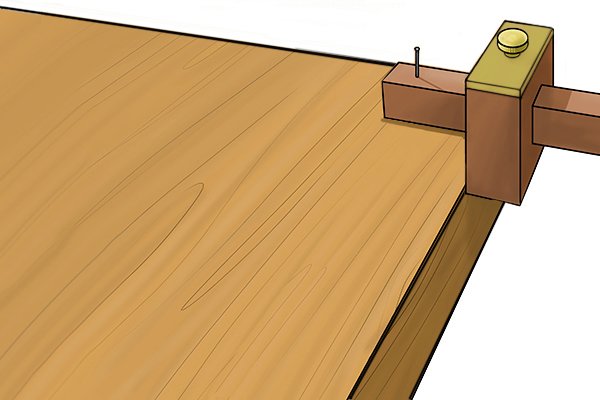
Step 1 – Prepare workpiece and gauge
Place your workpiece on a flat surface and set your gauge up at the intended end of the workpiece.
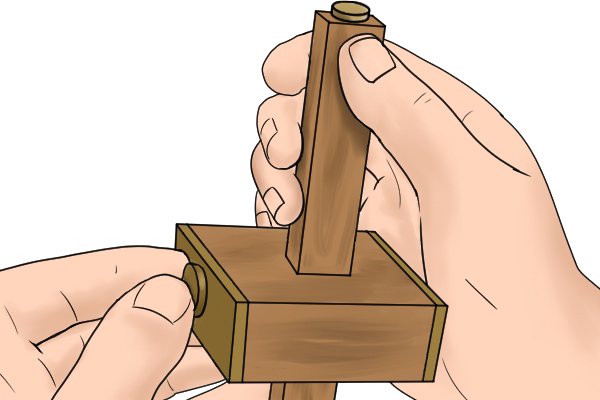
Step 2 – Set fence measurement
Turn the thumb screw anti-clockwise to release the fence and stem, then move the fence along the stem until it is at the correct measurement for where you want to mark, and butt the fence up to the edge of the workpiece.
Turn the thumb screw clockwise to secure it in place.
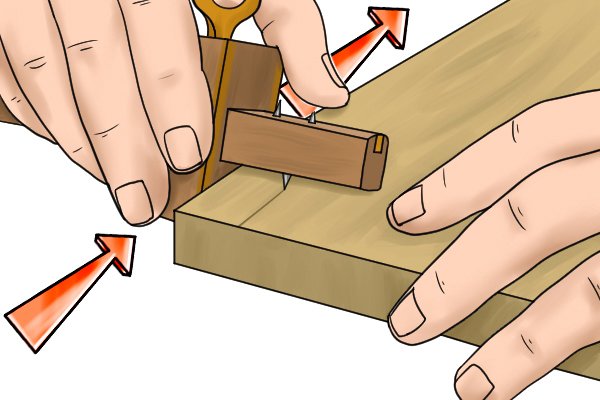
Step 3 – Mark wood
Curl your hand around the fence and tilt it slightly in the direction you are going to mark. Then simply drag the fence along the workpiece, applying very little pressure, until just before the end. Keep the fence butted up against the workpiece throughout the movement.
Stop just before the end of the material so that the tool does not drop off and lose control.
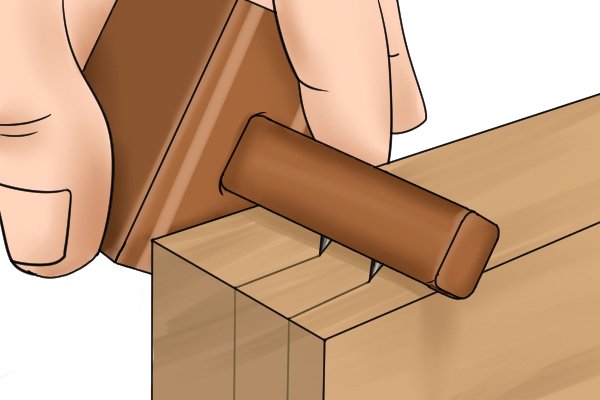
Step 4 – Mark from other end
From the opposite end of the workpiece, tilt the fence in the opposite direction and mark back across the line to make sure your line goes completely across the workpiece.
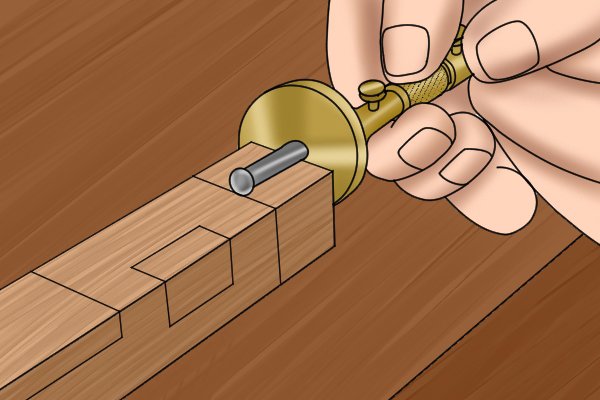
Step 5 – Mark other sides
If you need to continue the line to the other sides of the workpiece, do not adjust the fence or stem but simply turn the workpiece over and repeat the process from step 3.
